

If you suspect a switch is damaged from a storm here is a simple yet effective way to bench test your Netonix WISP Switch.
If you have a voltmeter laying around and want to do a little more advanced test to show if current sensors are damaged from a shorted cable, applying the wrong POE option, or most commonly ground current there is a section at the end of this post called ADVANCED TEST.
To bench test our switches you do this:
Power up on bench and factory default your switch.
1) Factory default and then upgrade the switch to the latest firmware.
If already upgraded to the latest firmware simply upgrade it to the same version again to verify the flash is working properly.
2) Do a cable diagnostics on every port with a 12’ patch cable plugged in with no device on the end of the patch cable.
You should get 4 meters on length and OPEN on all 4 pairs.
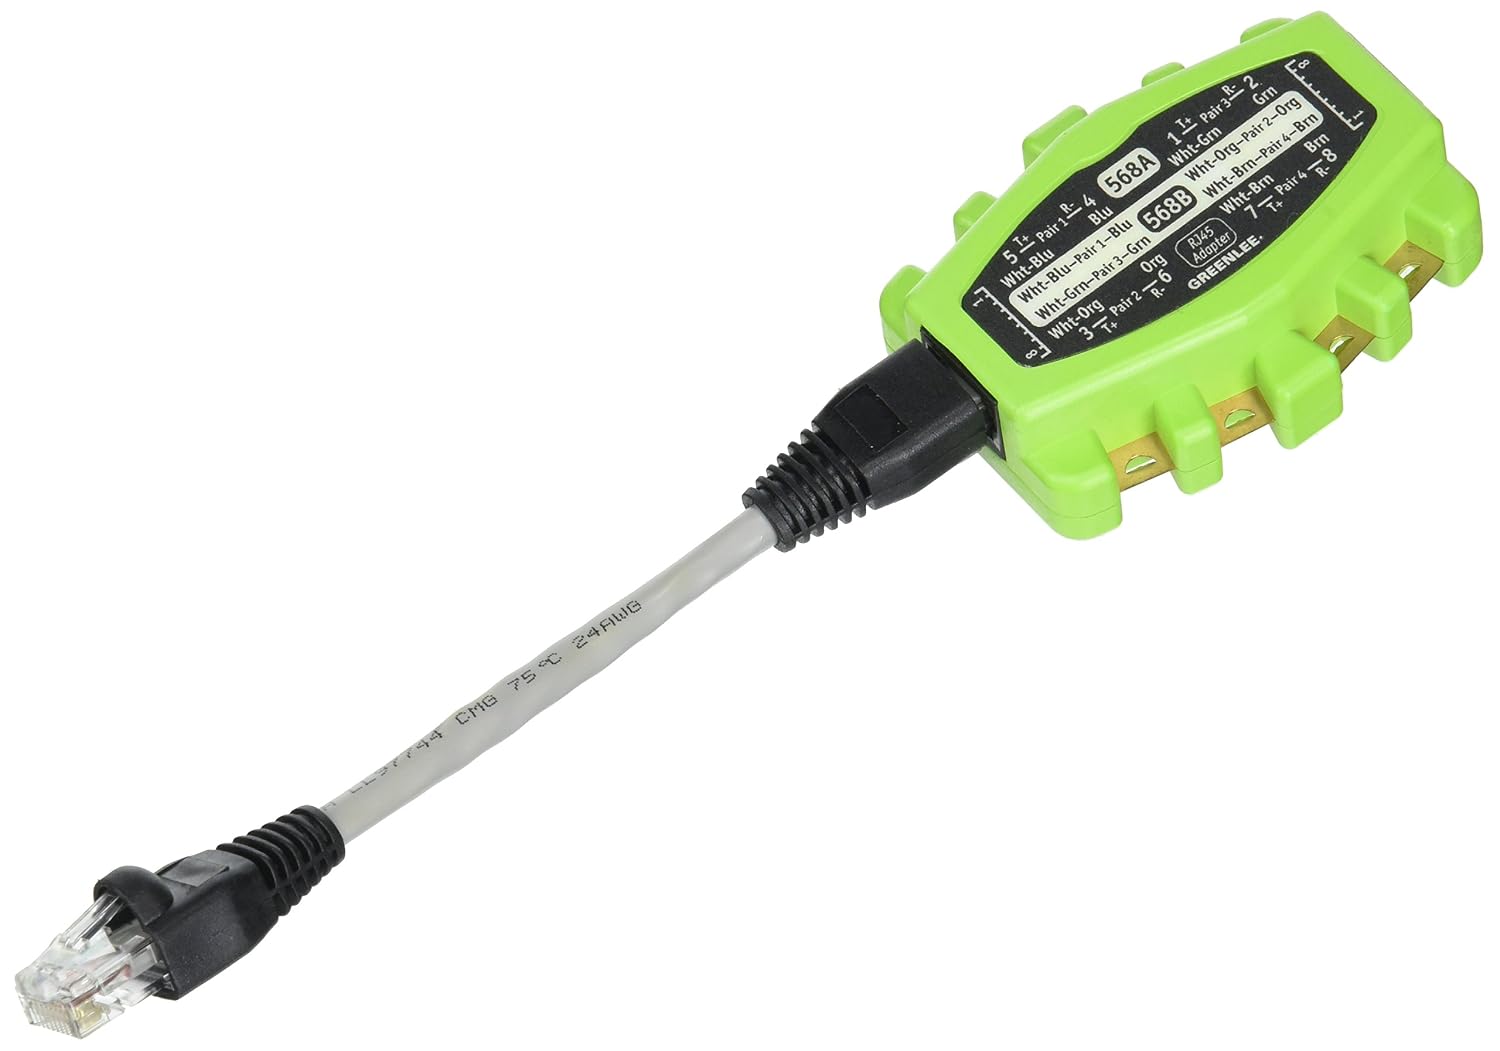
3) Use a short patch cable and cut one end off and strip the blue wire and brown wire.
Tape the Blue wire to the red (positive) lead of a volt meter and the brown wire to the black (negative) lead of a volt meter and make sure no other wires can touch each other and short and the leads can not touch each other.
Set the voltmeter to around 100V DC
Plug the jumper in each port to make sure no port is putting out 24V or 48V POE power as no port should be configured for POE at this point.
NOTE: You will see 1.4V to 1.7V on the port but this is normal, it is simply from the current sensors and of no real amperage as it is a floating voltage. The 1.4V to 1.7V means the current sensor is most likely working properly for that port.
WARNING: Any port showing 24V or 48V means a MOSFET circuit is damaged and will always put out that voltage.
4) Turn 24V POE on all ports and check each port for 24V with volt meter.
5) Use a 24V POE device such as a Rocket and check each port current readings on the status tab to make sure the watts being reported look correct.
6) Turn 48V POE on all ports and check each port for 48V with volt meter.
WARNING: DO NOT USE THE ROCKET FOR 48V AS YOU WILL FRY IT AND THE SWITCH PORT, WE ALREADY KNOW THE CURRENT SENSORS ARE WORKING AT THIS POINT.
5) Check each port for 1G connection to a non-POE device such as a laptop. FOr a more accurate test use a 100 meter cable if you have one lying around as an Ethernet Transformer can be damaged / degraded where it will achieve a 1G link on a short cable but not a long cable. However if it reported the proper length on your patch cable above chances are it is fine.
7) Check the device status Tab to make sure all the telemetry on this page looks correct.
8) Let the switch set awhile until the board temp goes over 40C and the fan kicks on and reports RPM on the Device/Status Tab. You may need to cover the switch with a towel to get it to warm up enough to kick the fan on.
9) Also I would let the switch run on bench for 24 hours with no POE just a single Ethernet connection to make sure it does not reboot. You can tell if it reboot by loggin into the switch an looking at up time on the Device/Statsus TAB
10) Test the serial console port by connecting to it with a NULL serial cable using these settings:
Serial Console settings: 8, N, 1, None, 115,200 - REQUIRES A NULL SERIAL CABLE
A good tech always has a serial console cable in his bag and has tested the cable and software to work before an emergency requires it.
If you have a WS-6-MINI or WS-8-150-AC (manufactured over a year ago) and you think it is rebooting and or locking up due to the 3.3V CAP issue I would perform this check as well:
Set the switch on bench and create a 1G Ethernet link on each port.
You can use a POE device or a non POE device, makes no difference.
Let the switch run over night and make sure no reboots occurred by checking the uptime on Device/Status TAB
OPTIONAL TEST FOR VH PORTS:
If you want to make sure the ports capable of 24VH and 48VH are also working properly then perform the same tests 4 & 6 listed above but now use the orange wire to the RED lead (positive) and the green wire to the BLACK lead (negative) of volt meter once again making sure no other wires can touch each other and the leads can not touch each other.
So if you based all the above tests chances are your switch is fine.
If you failed any of the above tests you should RMA the unit for repair, click this link for instructions: http://forum.netonix.com/viewtopic.php?f=6&t=1259
**********************************************************
**********************************************************
ADVANCED TEST:
Building this test rig will allow you to test ports in a WISP switch to see if the current sensors and or MOSFET circuits are damaged and if so then most likely the Ethernet Transformer is also damaged as well.
You will need 1 or preferrably 2 Voltmeters, a patch cable, and a roll of black electrical tape.
Steps to build the rig:
1) Cut one end off of the patch cable and strip bare each wire about 1" exposing the copper.
2) Twist each pair together such as Blue with White/Blue and Brown with White/Brown and so on, so all 4 pair are twisted together like this.
3) Take the Blue with White Blue pair and wrap the bare copper wire around the red/positive leads metal probe of the 1st Voltmeter then press the voltmeter red probe into the side of a roll of black electrical tape roll firmly trapping the wire between the prope and tape roll.
4) Take the Brown with White Brown pair and wrap the bare copper wire around the black/negative leads metal probe of the 1st Voltmeter then press the voltmeter black probe into the side of a roll of black electrical tape roll firmly trapping the wire between the prope and tape roll.
5) Take the Orange with White Orange pair and wrap the bare copper wire around the red/positive leads metal probe of the 2nd Voltmeter then press the voltmeter red probe into the side of a roll of black electrical tape roll firmly trapping the wire between the prope and tape roll.
6) Take the Brown with White Brown pair and wrap the bare copper wire around the black/negative leads metal probe of the 2nd Voltmeter then press the voltmeter black probe into the side of a roll of black electrical tape roll firmly trapping the wire between the prope and tape roll.
Now this will not work completely with the WS-8-150-AC as that model does not have current sensors on each port. All it will do for testing the WS-8-150-AC is test if the MOSFET circuits are damage in the ON position. So with the WS-8-150-AC you should see 0V on all ports.
Power up the factory defaulted switch or the switch that does not respond and nothing comes up on the console cable. If the switch's green power LED is lit then your ready to proceed. (The switch GREEN LED must be on for this to work)
NOTE: If you have a console cable connected and you should and the switch does not boot ot attempt to boot this means the SOC was damaged as well and the switchboard is fried and not repairable but you can proceed with this test to see which ports the current came in on.
Plug the jumper into each port 1 at a time noting the voltage displayed on both Voltmeters.
If the port being tested supports a VH POE option then you should see 1.2V to 1.8V on both Voltmeters as VH capable ports can supply POE on all 4 pair if configured to do so and each POE pair has its own MOSFET and current sensors.
If the port only support 24V and or 48V but not a VH POE option then you will see 1.2V to 1.8V on Voltmeter #1 on pairs 3 & 4.
The voltage your seeing is simply a floating voltage with no real amperage to speak of but it lets you know the current sensor is there and is probably working properly. The fact that you do not see 24V or 48V on either Voltmeter tells you the MOSFET circuit is in the OFF position. This does not mean the MOSFET circuit is not damaged but most times when a MOSFET circuit gets fried it gets fried in the ON position which will put 24V or 48V on the pair.
If you see 24V or 48V on either meter that means the MOSFET circuit is blown in an ON position, remember the switch is defaulted and or if dead MOSFETs for POE should be in the OFF position. Also if the MOSFET circuit is blown the current sensor probably is also blown for this port as well as the coils in the Ethernet Transformer.
See picture below of fried Ethernet Transformers and Current Sensors.
This type of damage is NOT covered under warranty. If you did not short a cable or apply the wrong POE option or try to power a non compatible device this damage is caused from GROUND CURRENT and you need to improve your grounding.
99% of all WISP equipment damage is from ground current (I own a WISP)
Here are some good posts on grounding:
http://forum.netonix.com/viewtopic.php? ... 279#p19279
http://forum.netonix.com/viewtopic.php?f=30&t=1816
http://forum.netonix.com/viewtopic.php?f=30&t=188
http://forum.netonix.com/viewtopic.php? ... =30#p13447
http://forum.netonix.com/viewtopic.php?f=30&t=1429
Read the posts above but the basics are as follow:
Tower ground rods must be bonded to electrical service ground rods HEAVY #2 wire.
I always add 1 or 2 “new” ground rods to older existing electrical services.
CLICK IMAGE BELOW TO VIEW FULL SIZE
Example picture of Test Rig:
CLICK IMAGE BELOW TO VIEW FULL SIZE
Pictures of damage you can find with the Test Rig:
MHH wrote: Ground Loops Can Cause System Damage
Title: Ground Loops Can Cause System Damage
Keywords: Ground loops, Opto-Isolated, damage
Date: May 29, 1995
KDB: KDB-105
Revision: 0.00
Author: MHH
Distribution: External
Preamble:
“A ground loop is a current through a conductor between two two grounded points” as in two buildings connected by an RS-232/RS-485 data line.
The potentials are different and if the voltage is great enough … a current flows down the signal ground of the data cable … and your serial port is damaged.
When two devices carry a difference in ground potential, the potential will try to even itself out … in much the same way as water seeks its own level. It will travel through the the lines and connectors and overload the circuitry of both the high-potential and low-potential device.
** A lightning strike or electrical spike … is a sudden event causing damage … smoking chip/traces.
*** A ground loop is more insidious … and is a long term steady event that weakens the chip … and slow cooks the chips and they eventual fail … blackened tops and melted circuit boards.
Note: A surge protector does NOT guard against ground loops.
The best prevention for ground-loop problems is to use optical isolation on long data lines.


